How to Install Cement Tiles?
How to Install Cement Tiles?
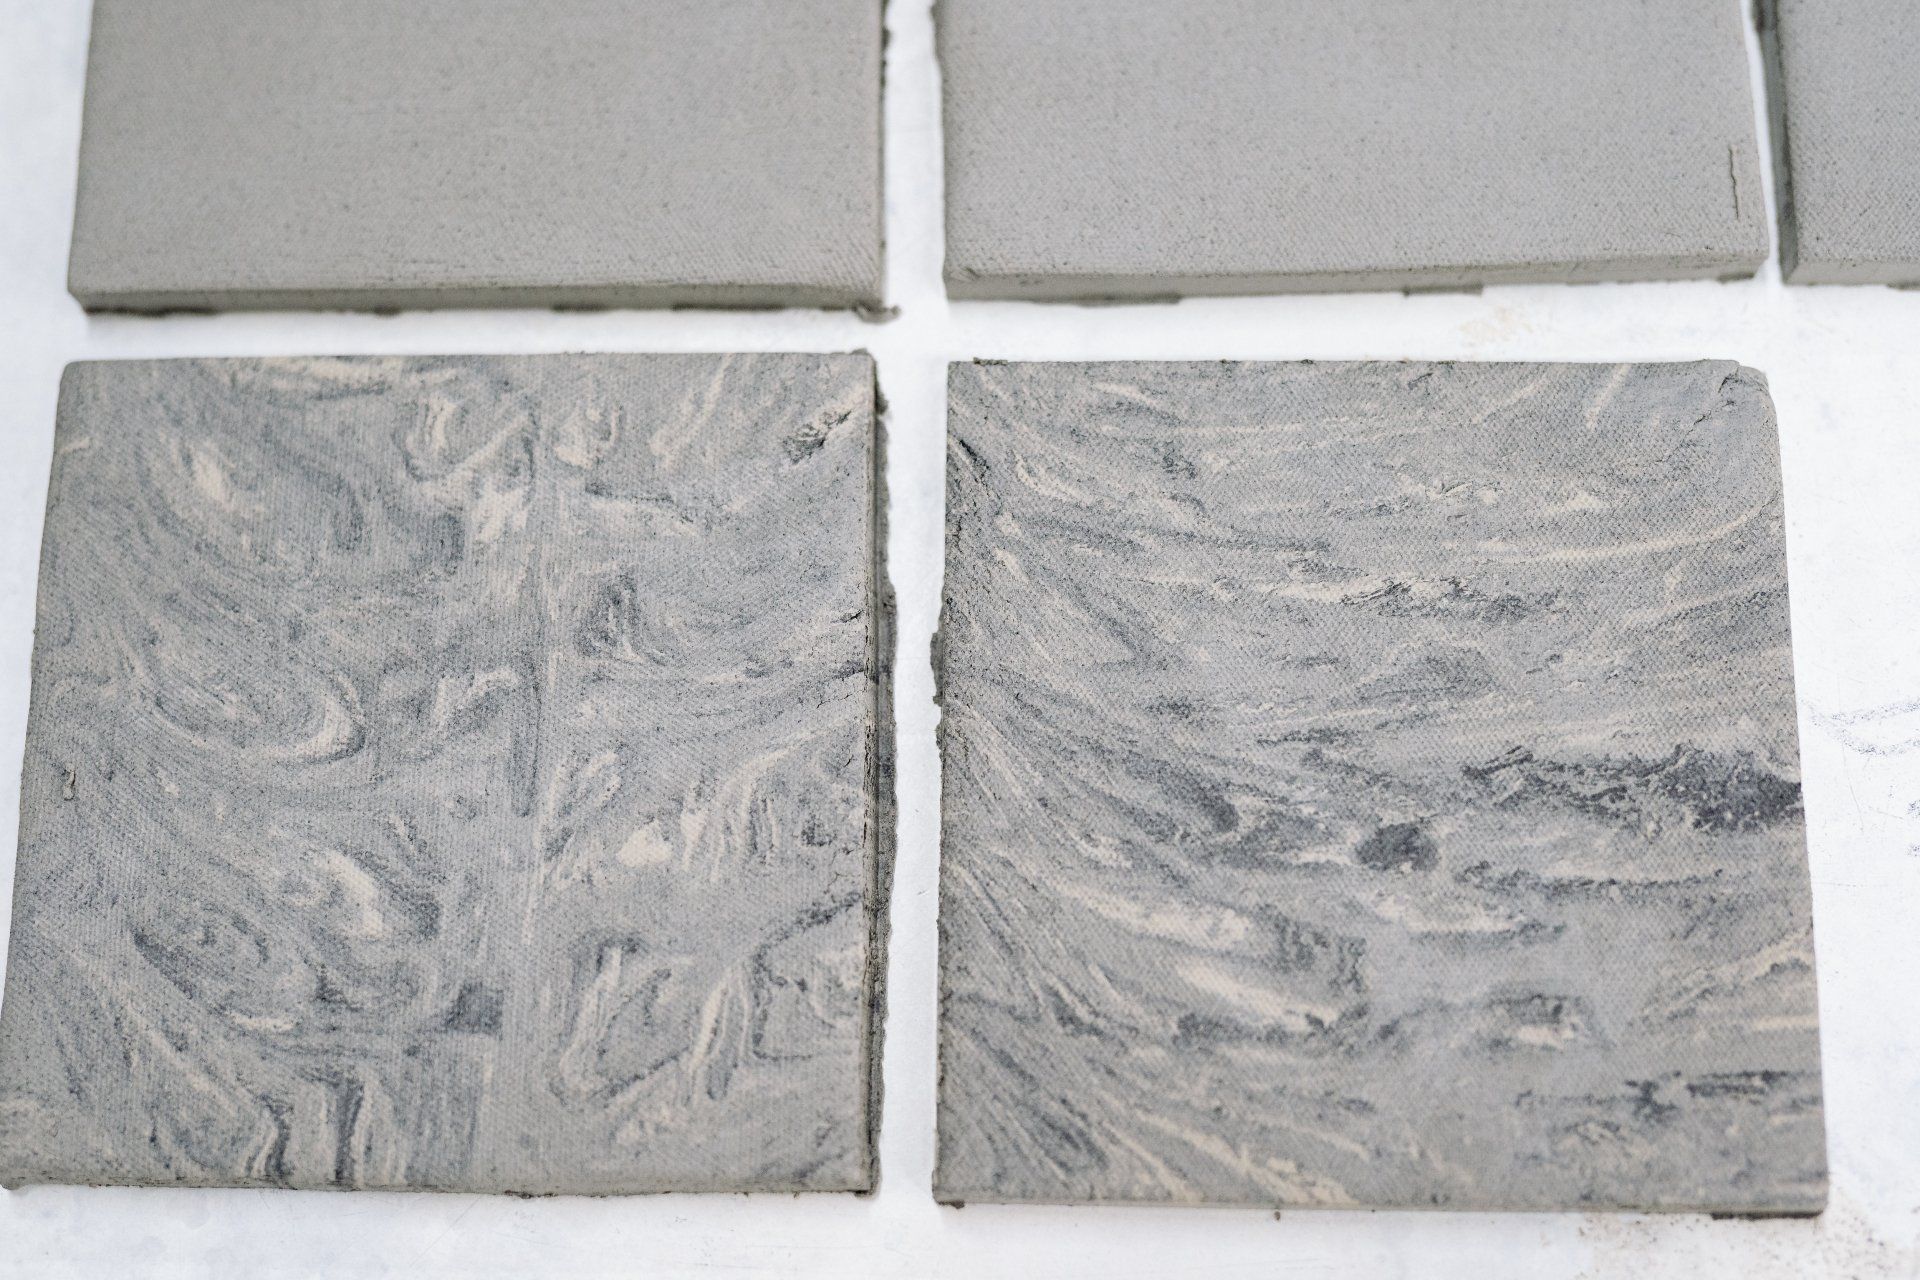
The installation of cement tile is a straightforward procedure, but it should be handled with care, thought, and most importantly, some planning. Since each tile is hand-crafted, there are tiny variations in thickness, shape, and color. A few minor imperfections, uneven edges, and crazing are all inherent to cement tiles and contribute to the appeal of the product. No matter if you're a DIYer, we've provided our advice on how to put in cement tile.
To get the most effective outcomes, we suggest hiring an experienced tile installer as cement tile is a bit less tolerant when it comes to installation as porcelain tiles or ceramic tile that is glazed. We have seen numerous DIYers put in cement tiles and have had success following these tips. Patience and planning are essential for a successful tile installation. These guidelines for cement tile installation apply regardless of patterns, colors, or use. Use these guidelines for flooring installations, tiled staircases, or kitchen backsplash. Keep in mind that ceiling and wall applications are the most challenging.
Pre-Installation Tips for Installing Cement Tile
Since cement tile is porous, special care must be taken to prevent staining caused by grease, oil markers, and dirt on the hands. You should consider pre-sealing or pre-sealed polished tile when they are available. This is particularly important for walls or if you are a DIYer.
Each tile is handmade; there are slight variations in size, thickness, and shades. It's important to keep in mind that these variations enhance the natural beauty and don't affect the effectiveness of the tile.
It is important to take pieces randomly from the boxes to ensure an even blending of the tile. This is crucial for any plain or solid-colored cement tiles. Remove any tiles before installation that appear to be ones that you do not like.
For tile installations with patterns, make sure to lay out the tile dry to make sure that any pattern imperfections or color contrasts that are stark can be blended with other tiles.
Steps for a Successful Cement Tile Installation:
The tiles must be set using a thin (1/16") grout line, using tiles spacers.
Tiles must be laid on an evenly level and clean surface. If you are laying tiles on concrete, ensure that the concrete has been given time for curing and that it is dry.
Tiles can be cut with a wet saw and diamond blade.
In the event of installing patterns, start by laying the center part first, followed by the borders, and then the field tile which will be used to surround the pattern. Be sure to avoid laying borders close to the wall's edge because nothing is plumb and square.
When putting in a cement rug or tile pattern, begin with the primary field pattern in the middle before completing the border.
Tiles can be put in place with a pre-mixed adhesive such as Mapei Type I, or using normal thin-set mortar. In either case, you should use an extremely pointed trowel for spreading the glue across the tile's surface and to the inside of the tile to ensure adequate adhesion.
If you are using a thin set of mortar tiles, the surface needs to be moistened. If using an adhesive that has been pre-mixed, the tile's back must be scrubbed gently.
The tiles should be laid manually and handled with care to avoid damaging edges. The tiles should be leveled with your hands. Utilizing a hammer made of rubber to achieve this can damage the tile's surface. The tiles are not able to be ground down once they are put in place, so it is crucial to ensure they are level when they are installed.
Any mortar residue left on the surface of the tile needs to be removed promptly to prevent staining.
